How to Batch Resize Photos for a Marketplace, Your Website or Email in One Pass
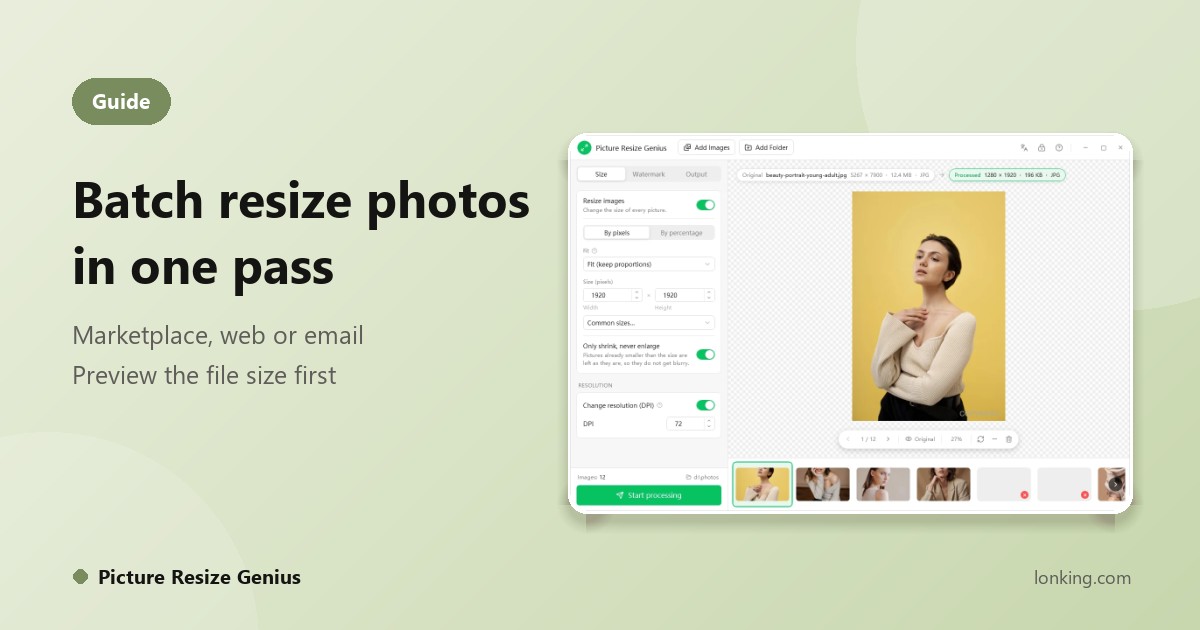
A shop adds 300 products and the marketplace insists on 800 x 800 main images. A redesign needs every picture on the site recompressed. A client wants 1,920-pixel JPGs, watermarked and numbered in order. None of it takes creativity, and all of it takes an afternoon when you open, resize, save and rename one picture at a time. In Picture Resize Genius it is two steps: set your rules, then click Start.
Step 1: add the pictures
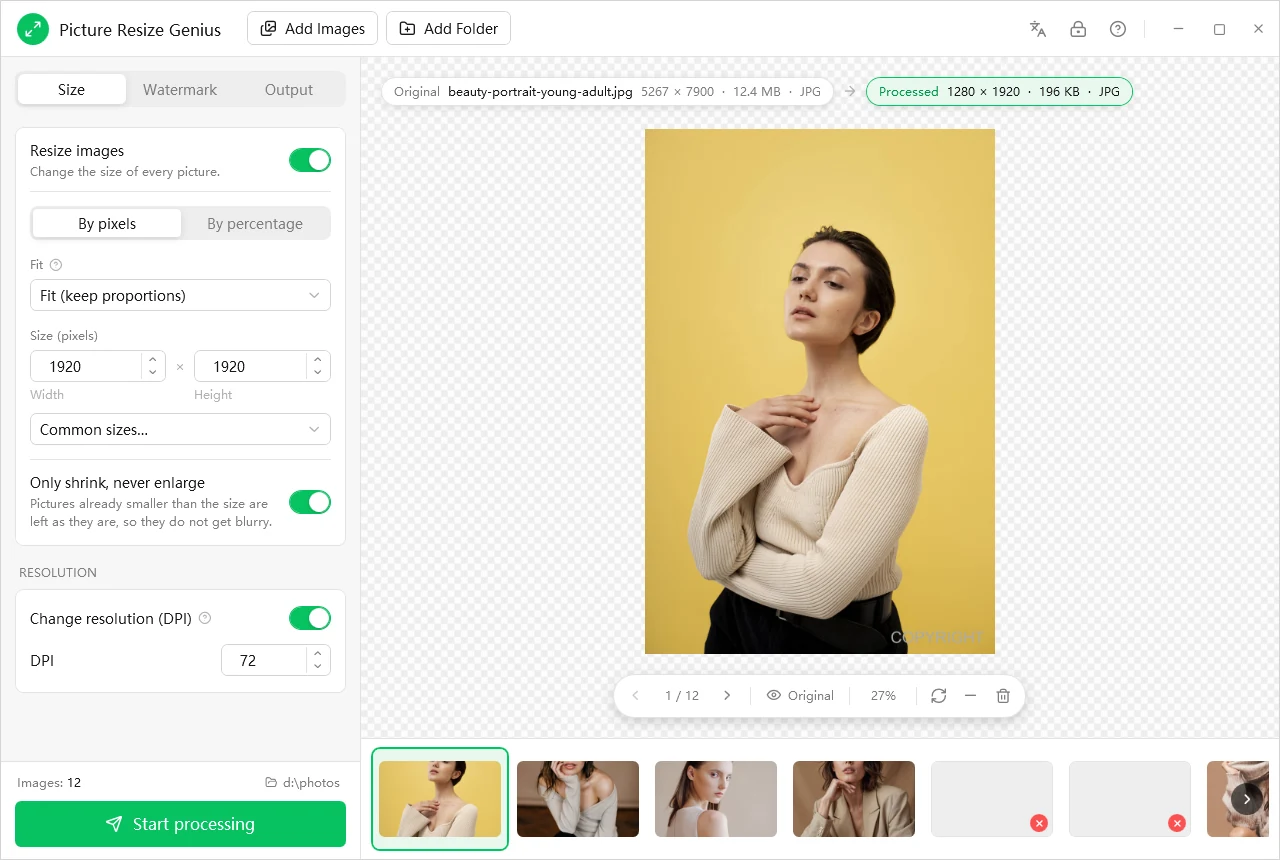
Click Add Folder (or Add Images), or drag files and folders into the window. The program reads 159 formats, including JPG, PNG, WebP, HEIC, AVIF, TIFF, PSD and camera RAW, and shows thumbnails along the bottom. Click any thumbnail to preview it, and remove the ones you do not want.
Step 2: choose the size
On the Size tab turn on Resize images. The recipe depends on where the pictures are going:
| For | By pixels | Fit mode |
|---|---|---|
| A marketplace that wants 800 x 800 | 800 x 800 | Fill to cover the square and trim the overflow, or Fit to keep the whole picture |
| Your website or a client delivery | 1920 wide (use Common sizes... for 1920 x 1080) | Fit (keep proportions) |
| Email attachments | A smaller size from Common sizes... | Fit (keep proportions) |
| Thumbnails and avatars | The matching entry in Common sizes... | Crop with the anchor on the subject |
Leave Only shrink, never enlarge on, so pictures that are already small stay sharp. For Crop and Fill, choose the Area to keep from nine anchor points. If the pictures are for print, turn on Change resolution (DPI) and set the value.
Step 3: format, quality and names
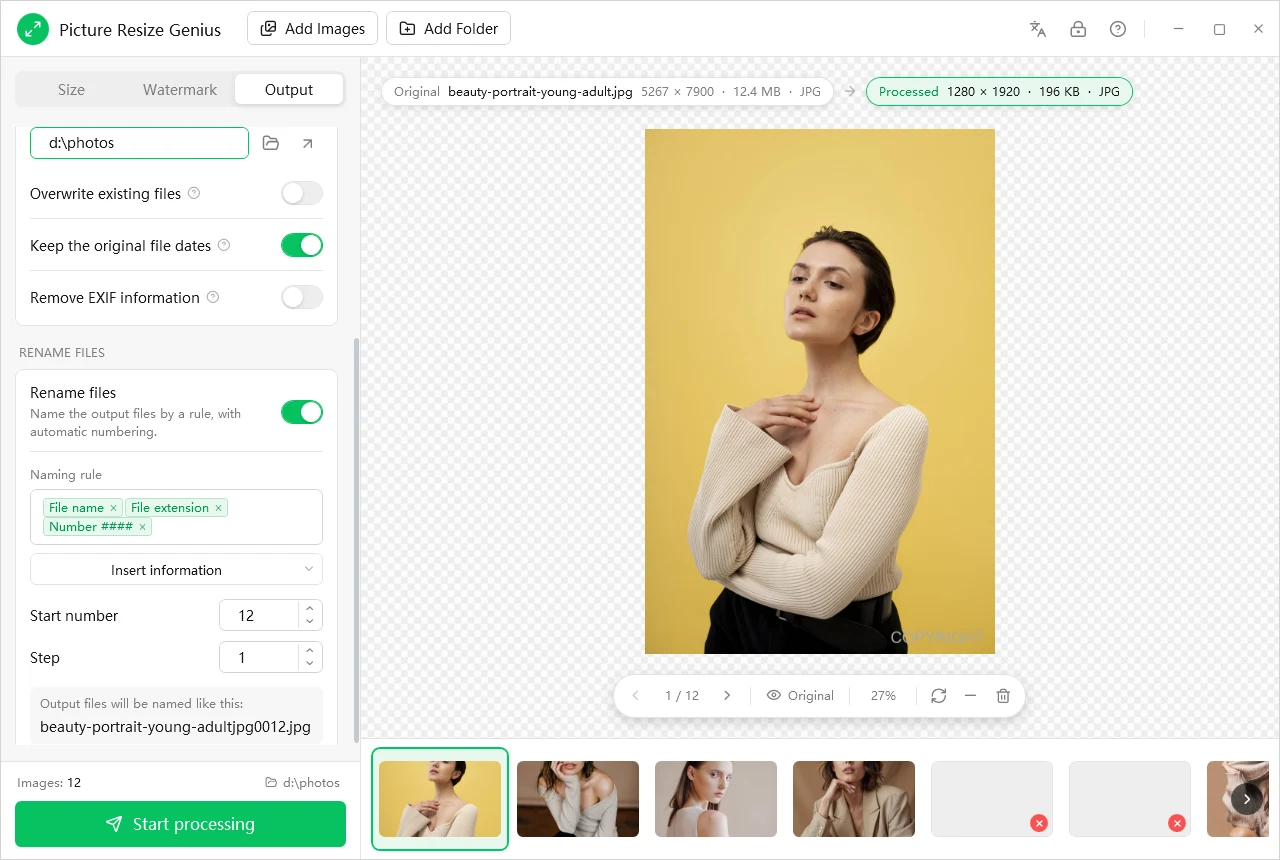
- Output format: JPEG for photos, PNG or WebP when you need transparency or sharper graphics, or keep each picture’s own format. Camera RAW cannot be saved as RAW and is exported as JPEG.
- Quality: watch the estimated size in the preview while you move the slider.
- Rename files: build the name from tokens (file name, extension, serial number, dates, EXIF fields) and read the example the dialog shows; set the start number and step.
- Remove EXIF information strips camera details, GPS location and timestamps before you share the pictures.
Step 4: check, then start
The preview runs the real pipeline, so what you see is what you get. Switch between Original and Processed to compare a detail, confirm the Output folder and click Start processing. Your originals are never overwritten: results are written as new files, and a name collision gets a (1), (2) suffix.