How to Convert a Video to GIF on Windows, and Make a Contact Sheet of Its Frames
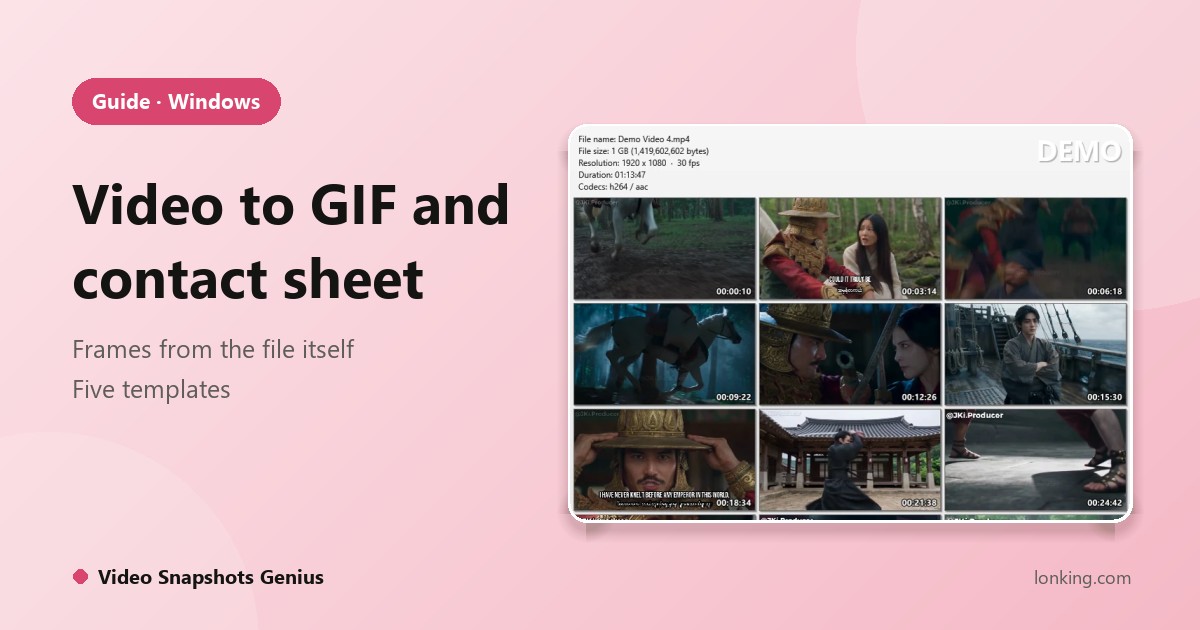
Converting a video to GIF on Windows does not need an online uploader or a screen recorder. A short looping GIF explains a feature faster than a paragraph, and a contact sheet (one image with a grid of frames) shows what a whole video contains at a glance. Both come from the same snapshots. Here is how to make a GIF and a contact sheet from a video on Windows.
Why make them from snapshots?
Screen recorders capture a window in real time and produce large, heavy files. If you already have a video, it is cleaner to take evenly spaced frames from the file itself and assemble them: you control exactly which frames are used, the result stays small, and nothing depends on a recorder running smoothly.
Step 1: capture the frames
Open Video Snapshots Genius, add the video and choose Fixed number (for example 12 or 24 snapshots) or Fixed interval. Leave Skip blank frames on so black transitions do not end up in the GIF. Need a precise moment? Use Pick frames: Space to play, the arrow keys to step, C to capture.
Step 2: turn on the animated GIF
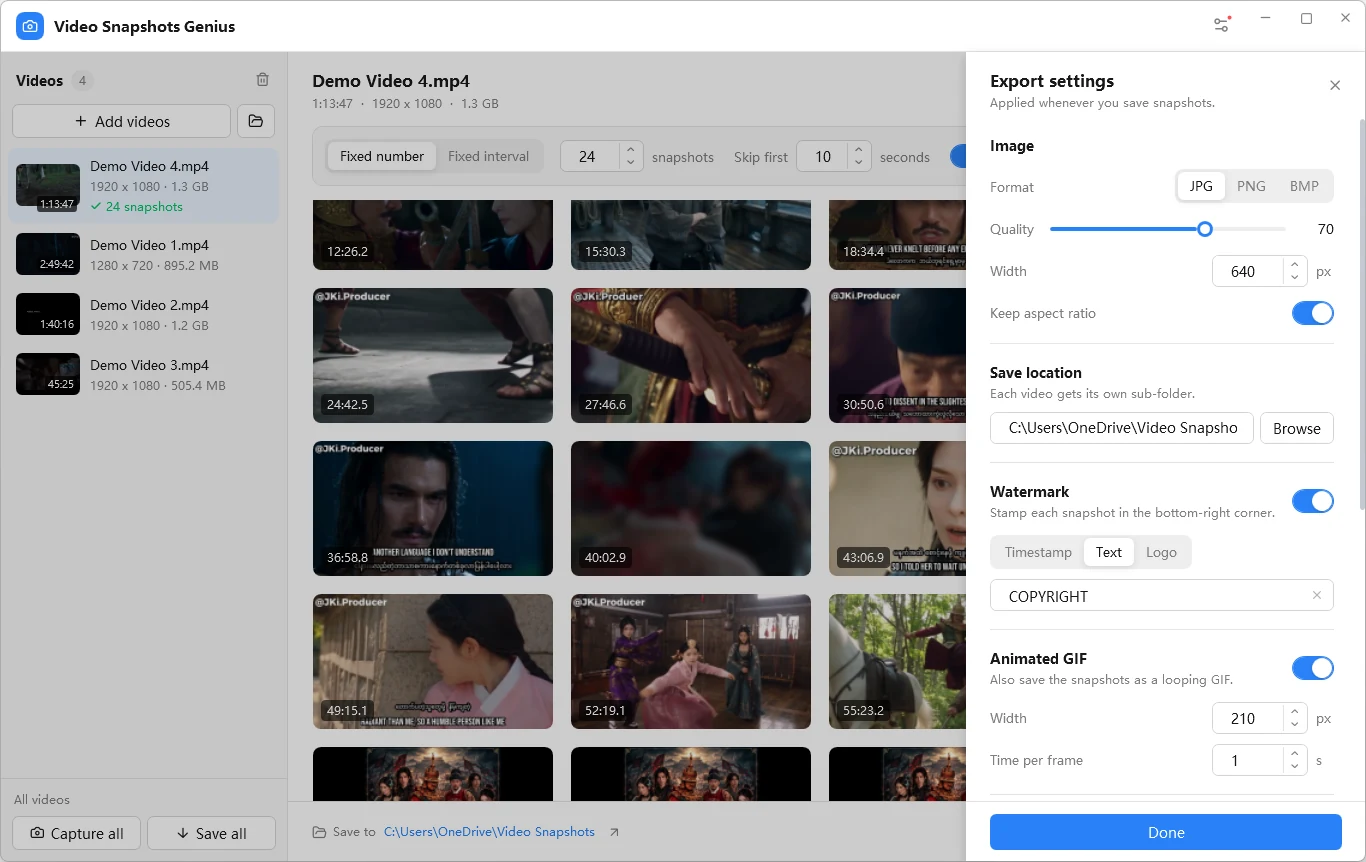
In Export settings turn on Animated GIF. All the snapshots of a video become a looping animation; you choose the width and the time each frame is shown. If the frames have different aspect ratios they are letterboxed, never stretched. GIFs have a limited colour palette and grow quickly with size, so a moderate width and fewer frames keep the file small enough to share.
Step 3: add a contact sheet

Turn on Contact sheet to get one image with all the frames in a grid and a header with the video’s details. Five templates are included: Cinema, Dark, Filmstrip, Captioned and Classic. Contact sheets are handy for reviewing footage, choosing a thumbnail, sending a client a preview or cataloguing a folder of clips.
Step 4: save
Click save. Each video gets a folder named after it, with the numbered snapshots, animate.gif and collage.png. Saving the same video again overwrites files with the same names, so rename the folder or pick another location to keep the old results.
Tips
- For a smooth loop, capture by interval from a short clip instead of spreading 24 frames across a long video.
- Add a text, timestamp or logo watermark in Export settings if the images will be published.
- The built-in editor can annotate snapshots with arrows, text, numbered markers and mosaic before saving.