How to Convert HEIC to JPG on Windows, One Photo or a Whole Camera Roll
iPhone photos are saved as HEIC by default. They are small and sharp, but many Windows programs, websites and print services do not open them. Converting to JPG fixes that. Here is how to do it for one photo or a whole camera roll on Windows 11 and 10.
First, the easiest fix: stop creating HEIC
On the iPhone, open Settings, Camera, Formats and choose Most Compatible; new photos are saved as JPEG. In Settings, Photos, under Transfer to Mac or PC, choose Automatic and iOS converts photos to a compatible format when you copy them to a PC. Neither helps with the HEIC files you already have.
Opening HEIC in Windows
Windows can show HEIC in File Explorer and Photos once the HEIF Image Extensions add-on from the Microsoft Store is installed. Some iPhone photos also need the HEVC Video Extensions, which may be a paid add-on or come preinstalled depending on your PC. Viewing is not converting, though: other programs and websites still will not accept the files.
Convert a whole folder with Picture Resize Genius
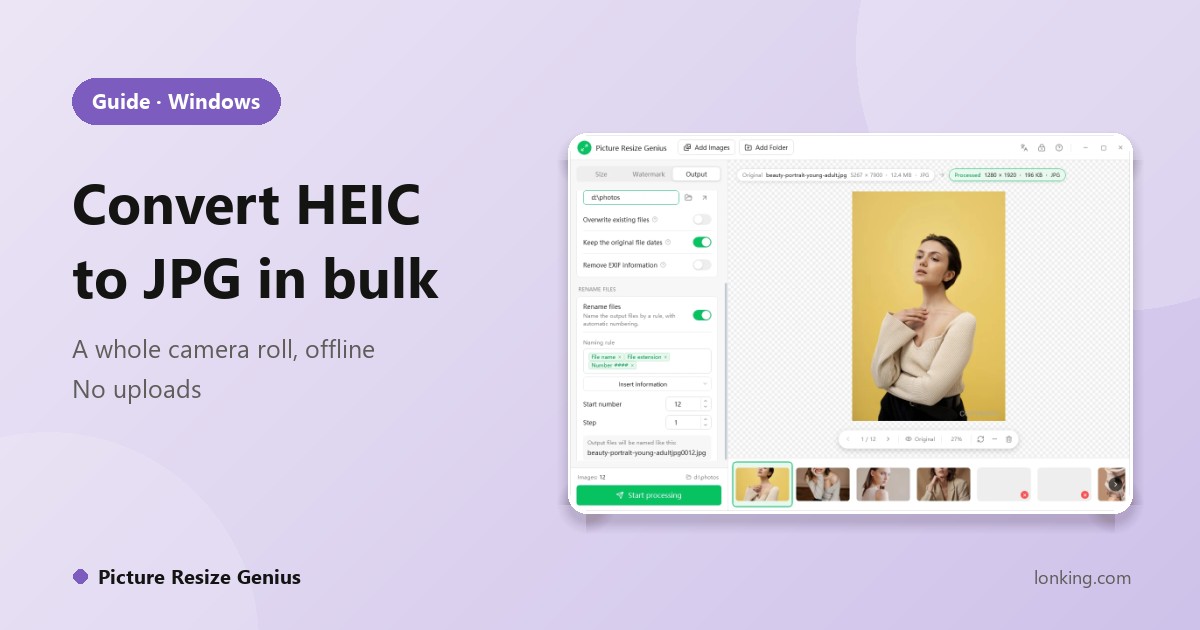
Picture Resize Genius reads HEIC along with 150+ other formats and writes JPEG, PNG, WebP and 60+ more, so a camera roll becomes ordinary JPGs in one pass.
- Copy the HEIC files from the phone into a folder on your PC.
- In Picture Resize Genius click Add Folder and choose it. Thumbnails appear along the bottom.
- On the Output tab choose JPEG as the output format and set the quality while watching the estimated file size in the preview.
- Optional: turn on Resize images on the Size tab if you also want smaller files, for example 1920 pixels wide for the web.
- Optional: turn on Remove EXIF information to strip location, camera details and timestamps before you share the photos.
- Choose an output folder and click Start processing. The converted JPGs are new files; the HEIC originals stay as they were.
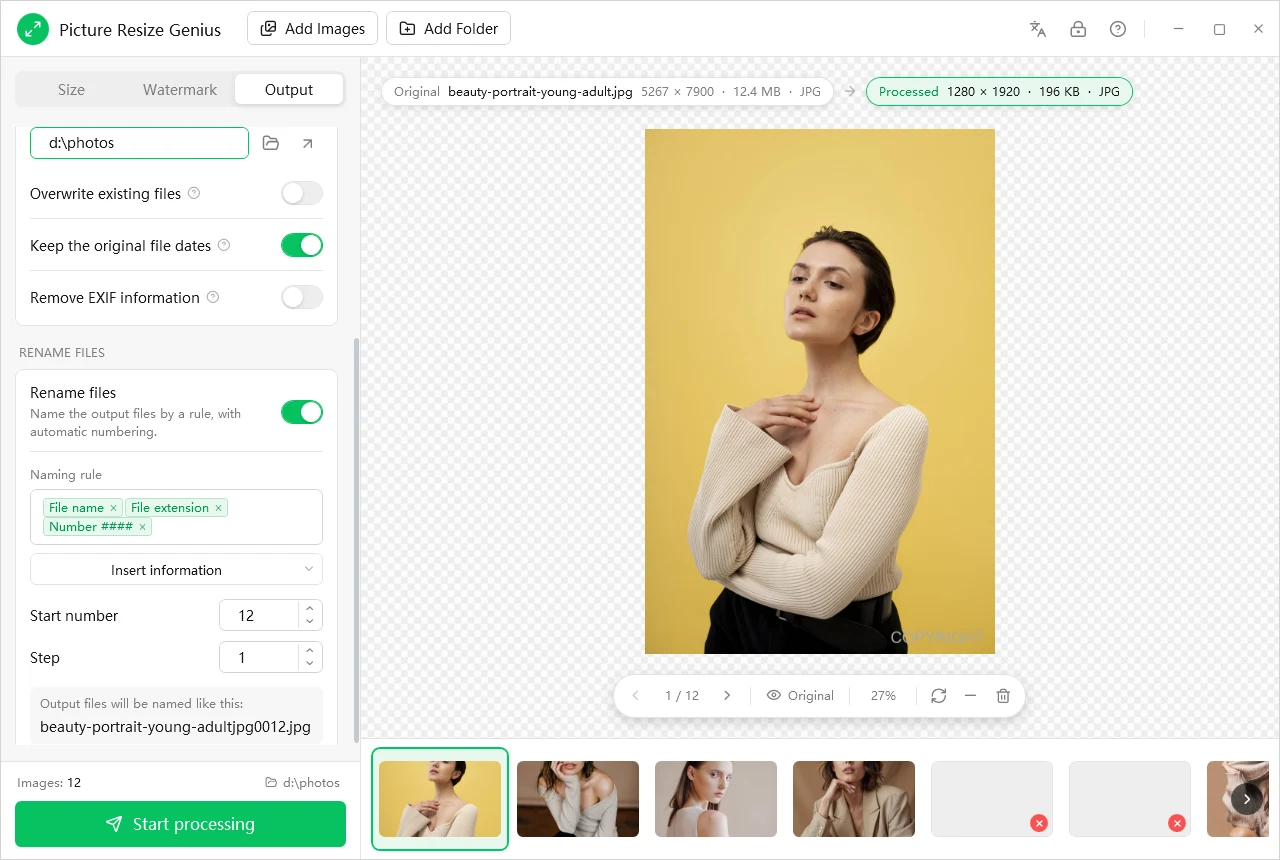
Everything runs on your PC, so the photos are not uploaded anywhere, which matters for family pictures and client work that online converters would send to a server.
HEIC to JPG: things to know
- JPG is lossy. Each save loses a little quality. Keep the HEIC originals and use a high quality setting for photos you care about.
- File size usually grows. HEIC is more efficient than JPG, so a converted photo is often larger than the original at similar quality.
- Need transparency or sharp graphics? Choose PNG or WebP instead of JPEG.
- Live Photos and burst shots are converted as still images only.